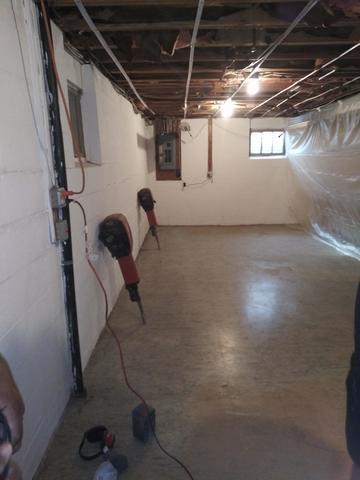
Ready to Jackhammer!
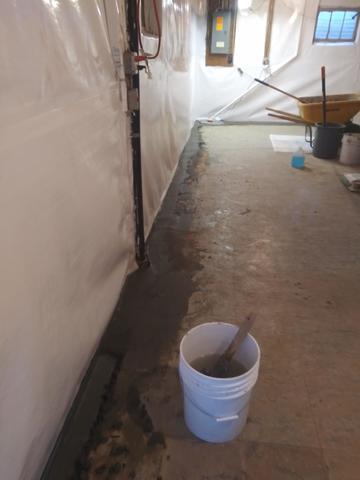
In order to lay the sub-flooring WaterGaurd drainage system, the crew must first create a space in the ground for that track system. We make this space by using a jackhammer. While a jackhammer in your home may seem scary, don't worry, as you can see in this photo we seal off the problematic area and it is a quick and painless (messless) step.
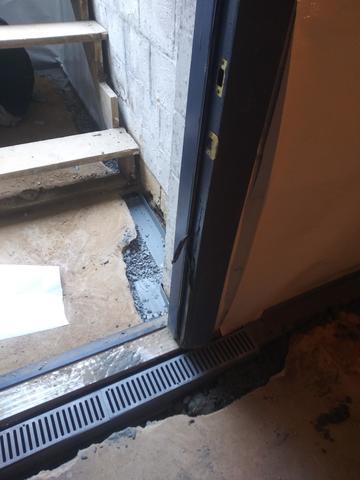
The TrenchDrain
This photo is at the base of the stairwell and is the threshold into the home. This grate-like feature is connected to the rest of the sub-surface drainage system, but collects water much more efficiently in the event of flooding or high rain fall.
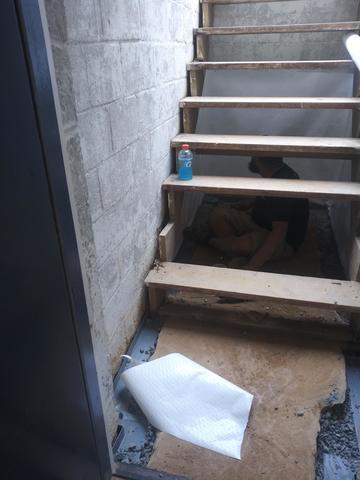
Every Nook and Cranny
Here is where things get tricky. What made this project unique to others, is how the stairs are not only an entry point, but the foundation is built around them. As you can see in the photo above, we needed to install the WaterGaurd drainage system in the stairwell while keeping the stairs intact and cleanly attaching it to the indoor system and Trench Drain. The team did an incredible job of putting all these pieces together.
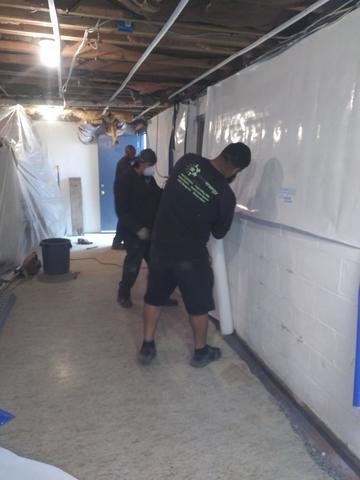
Rolling Out CleanSpace
This action shot of the crew putting up the CleanSpace is the easiest way to grasp the idea of what is doing the actual waterproofing. CleanSpace is the protective barrier between your foundation walls and your drywall, catching any moisture creeping in and directing it to your sump pump. This process is not always your whole wall, or every wall in your home, just the portion of the wall that is subterranean and the walls that have proven to be problematic.
A Finished Job in an Unfinished Basement
Once all of the basement waterproofing products are installed, we re-surface the floor with new concrete and put back the flooring and walls that were removed to for the project. In this case this home's basement was unfinished so the CleanSpace Liner will remain exposed and the floor is all concrete. In basements that are finished, the team will make sure your basement looks just the way it did when you started, but waterproofed!
