Still Moldy
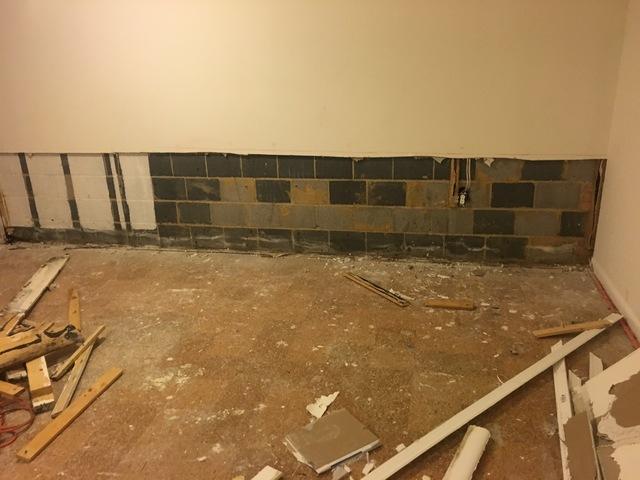
On the far left part of the photo you can see some of the mold we were called into remediate. Generally, you can see a little bit of it along the crown molding. You can see more in the following photos.

More Mold
Here you can see some more mold. The darker spots on the 2x4's in the wall are mold.

Another Before Photo
This is yet another before photo of the basement which is need of a little love. In upcoming photos you will see how we get rid of all the infected parts of the floor and framework.

Out With the Old
As you can see here we have to get rid of all of the rotten 2x4's. We will replace anything we have to throw away, but the new will be mold treated along wit the basement being waterproofed to ensure that this does not continue to be an issue.

Prepping for the New
At this point we have removed the damaged floors. Now you can see some of the water damage and where we have had to remove rotten walls and beams so that we can fully remove the mold. Now we will begin to waterproof this basement!

Ready to Take the Trash Out
Here you can see all of the trash we have created with what we removed ready to go out to the curb.

The Messy Part
Sometimes to fix a mess, you have to make a mess. This is exactly how a proper basement waterproofing job is. The system we use is a drainage track that lays below the floor. In order to install the WaterGuard drainage system, we first must jackhammer a trench like hole around the perimeter of the infected areas. As you can see here, there will then be a bunch of gravel. We will remove it before installing the WaterGuard.

Jumping Ahead
This photo is jumping ahead a bit, because here you can see not only the WaterGuard (grey plastic tubing), but also the CleanSpace Liner on the walls. This liner is what will act as the barrier between water vapor and your home.

CleanSpace Liner
All of the white slightly shiny walls are the ones that have been treated with CleanSpace Liner. CleanSpace is a 7 layered patent protected waterproofing agent that will stop any water that comes through from contaminating the basement. It is designed to direct all of the moisture into the WaterGuard.

Backfill
Once the CleanSpace Liner and WaterGuard are installed, we can backfill the left over spaces with gravel before cementing over it.

Time for Cement!
One of the final steps is sealing everything. We have removed what didn't work and replaced it with state of the art waterproofing technologies along with mold and mildew treating the space and now it is time to seal that all into place with some fresh cement.

In Action!
Here is a crew member in action!

More Action!
This is a great shot of the WaterGuard and the CleanSpace Liner as they are getting sealed up!

First Line of Defense
Here you can really see how the CleanSpace Liner acts as the first line of defense. A barrier between the foundation and the framework.

The New Sump Pump
Here you can see the new sump pump we installed. This specifically is the SuperSump Pump, another one of our patented products. The role of the sump pump is to be the last stop in the basement for any moisture before it gets pushed outside. In following photos you will be able to see how it gets pushed outside.

Up and Out
Here is the outlet for the water the waterproofing system collected. This will go underground and push the water away from the house.
