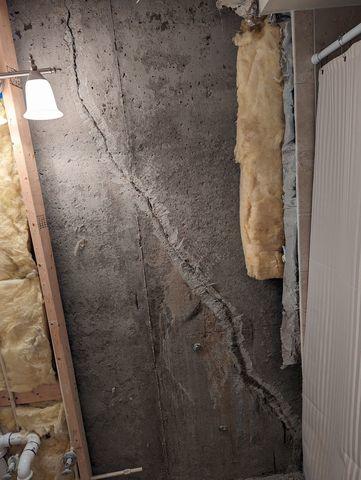
Foundation Wall Repair Step 1
Cleaning the wall and preparing it for application of the FlexiSpan
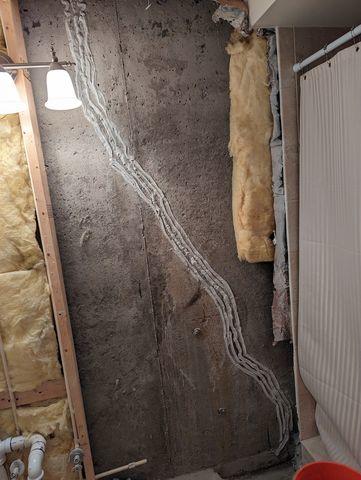
Foundation Wall Repair Step 2
Laying a base level of sealant that will later harden and help to hold the FlexiSpan in place.
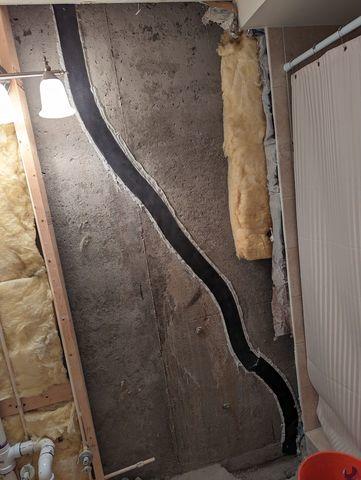
Foundation Wall Repair Step 3
Applying a layer of FlexiSpan material over the crack.
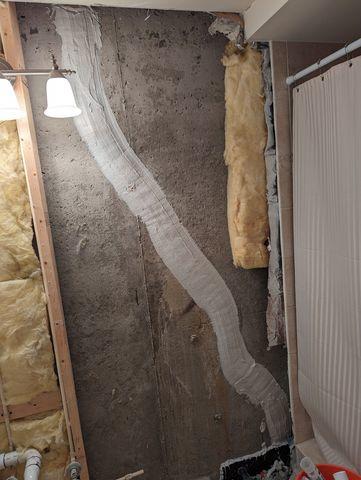
Foundation Wall Repair Step 4
Covering the FlexiSpan with another layer of sealant, covering the edges and seams of the FlexiSpan.
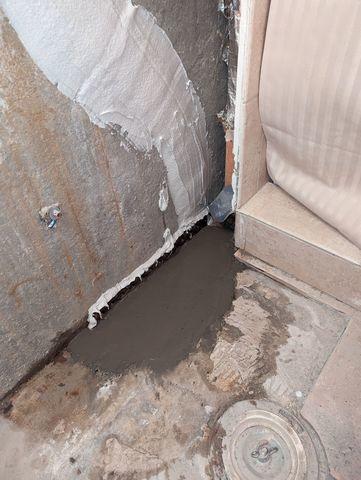
Foundation Wall Repair Step 5
The base of the wall was covered wit sealant and all cracks and small chips were filled in.